DIY // PARTY CROWNS


DIY Party Crowns // ssheart.com

I have a thing about shopping. And this thing, it's kind of a deal breaker for me. So if you're planning on going shopping with me, keep this in mind... I like to take my sweet, sweet time.

In and out of Walmart in 5 minutes? Yeah, right buddy. You better believe I'm going to peruse every aisle. Don't you dare rush me. I can't enter Walmart and not check to see if Essie has released new nail polishes! It's the same with most stores I enter into, especially dollar stores. Don't even get me started on dollar stores. I'm always amazed at the selection of products and could never ever spend less than 20 minutes in one. Please tell me I'm not alone in my sss (slow shopper syndrome)!!

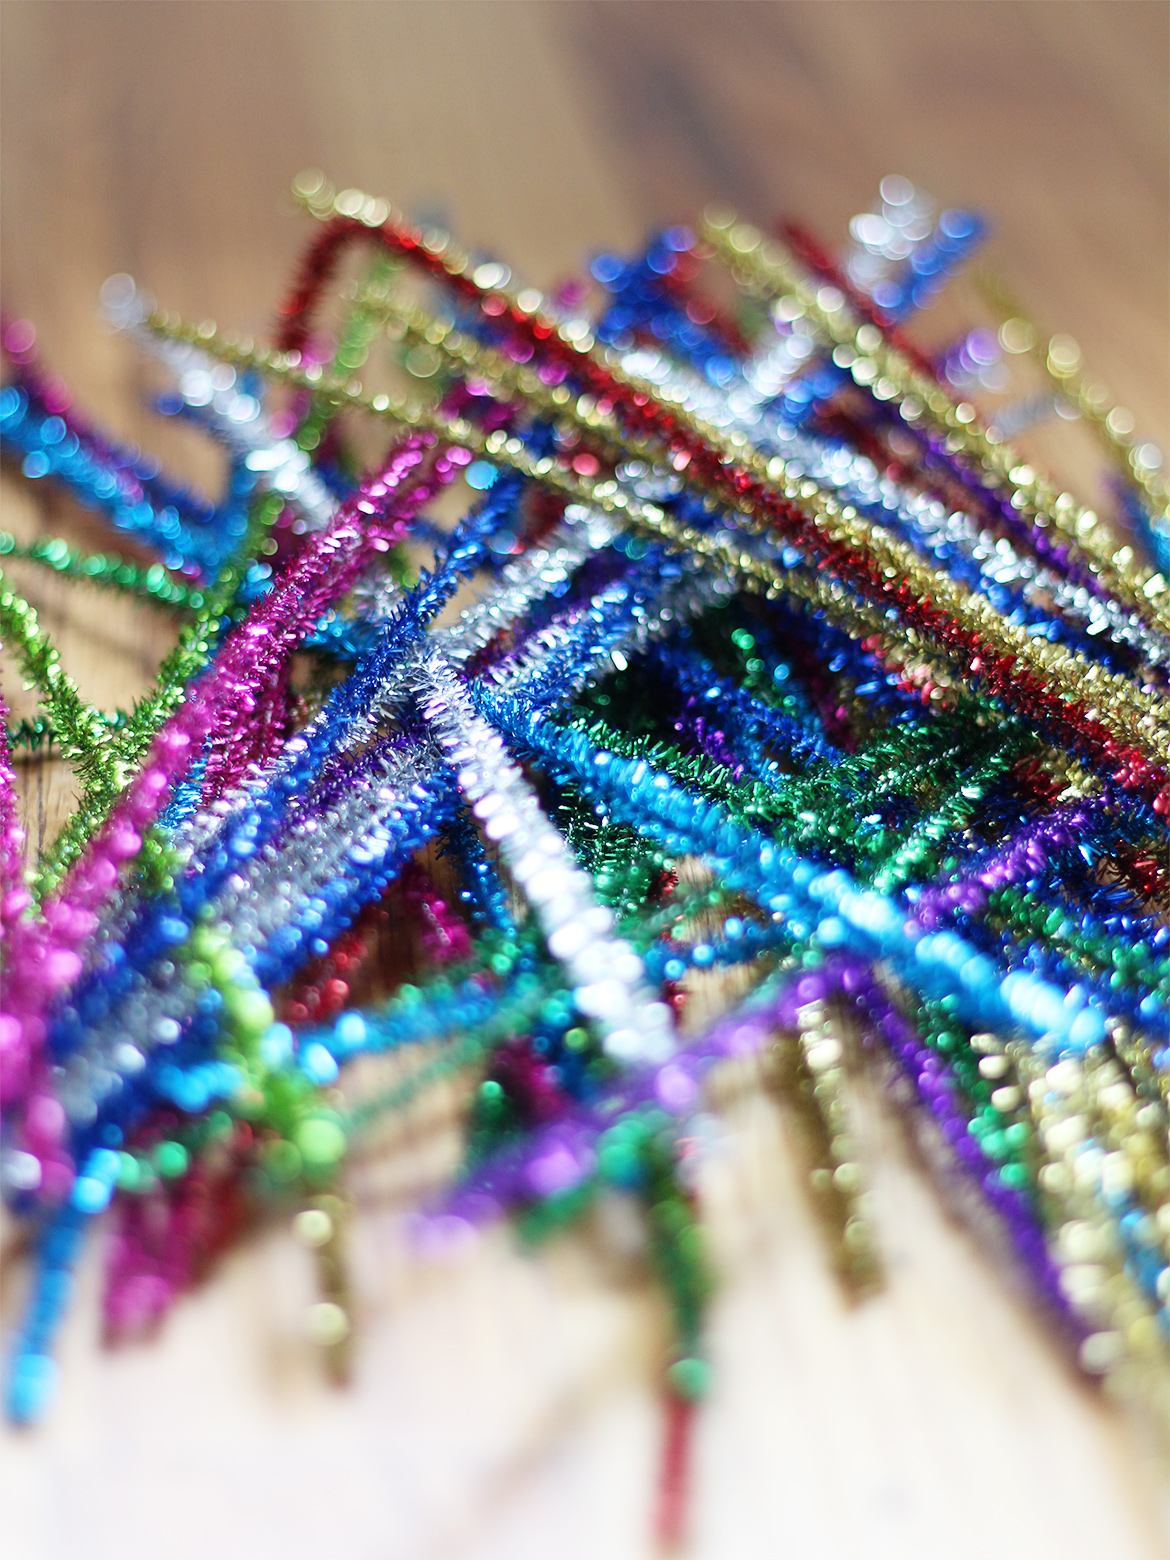
Speaking of dollar stores, I hit up the downtown one (once you get over the weird smell, it's actually pretty great) on my lunch break last Thursday and I struck gold. Pure gold people. I found sparkly pipe cleaners, glitter washi tape and a legit garden shovel. Oh and my total was $7 (and there were 3 packs of sparkly pipe cleaners in that order). Yep, pure gold. 

With the pipe cleaners, myself and craft guru, Rachel constructed crowns for our friend Cristina's birthday. 

diy party crowns

They were insanely easy and super cute.

Directions:

1. Grab two pipe cleaners, twist the ends together and shape into a circle to make the base of the crown. 

2. Take five pipe cleaners and cut them in half.

3. Fold the pieces in half and pull the ends out to shape a triangle.

4. Attach triangle onto base of crown by twisting the ends down.

5. Repeat around entire crown.

6. Razzle dazzle everybody you come in contact with. Huzzah!

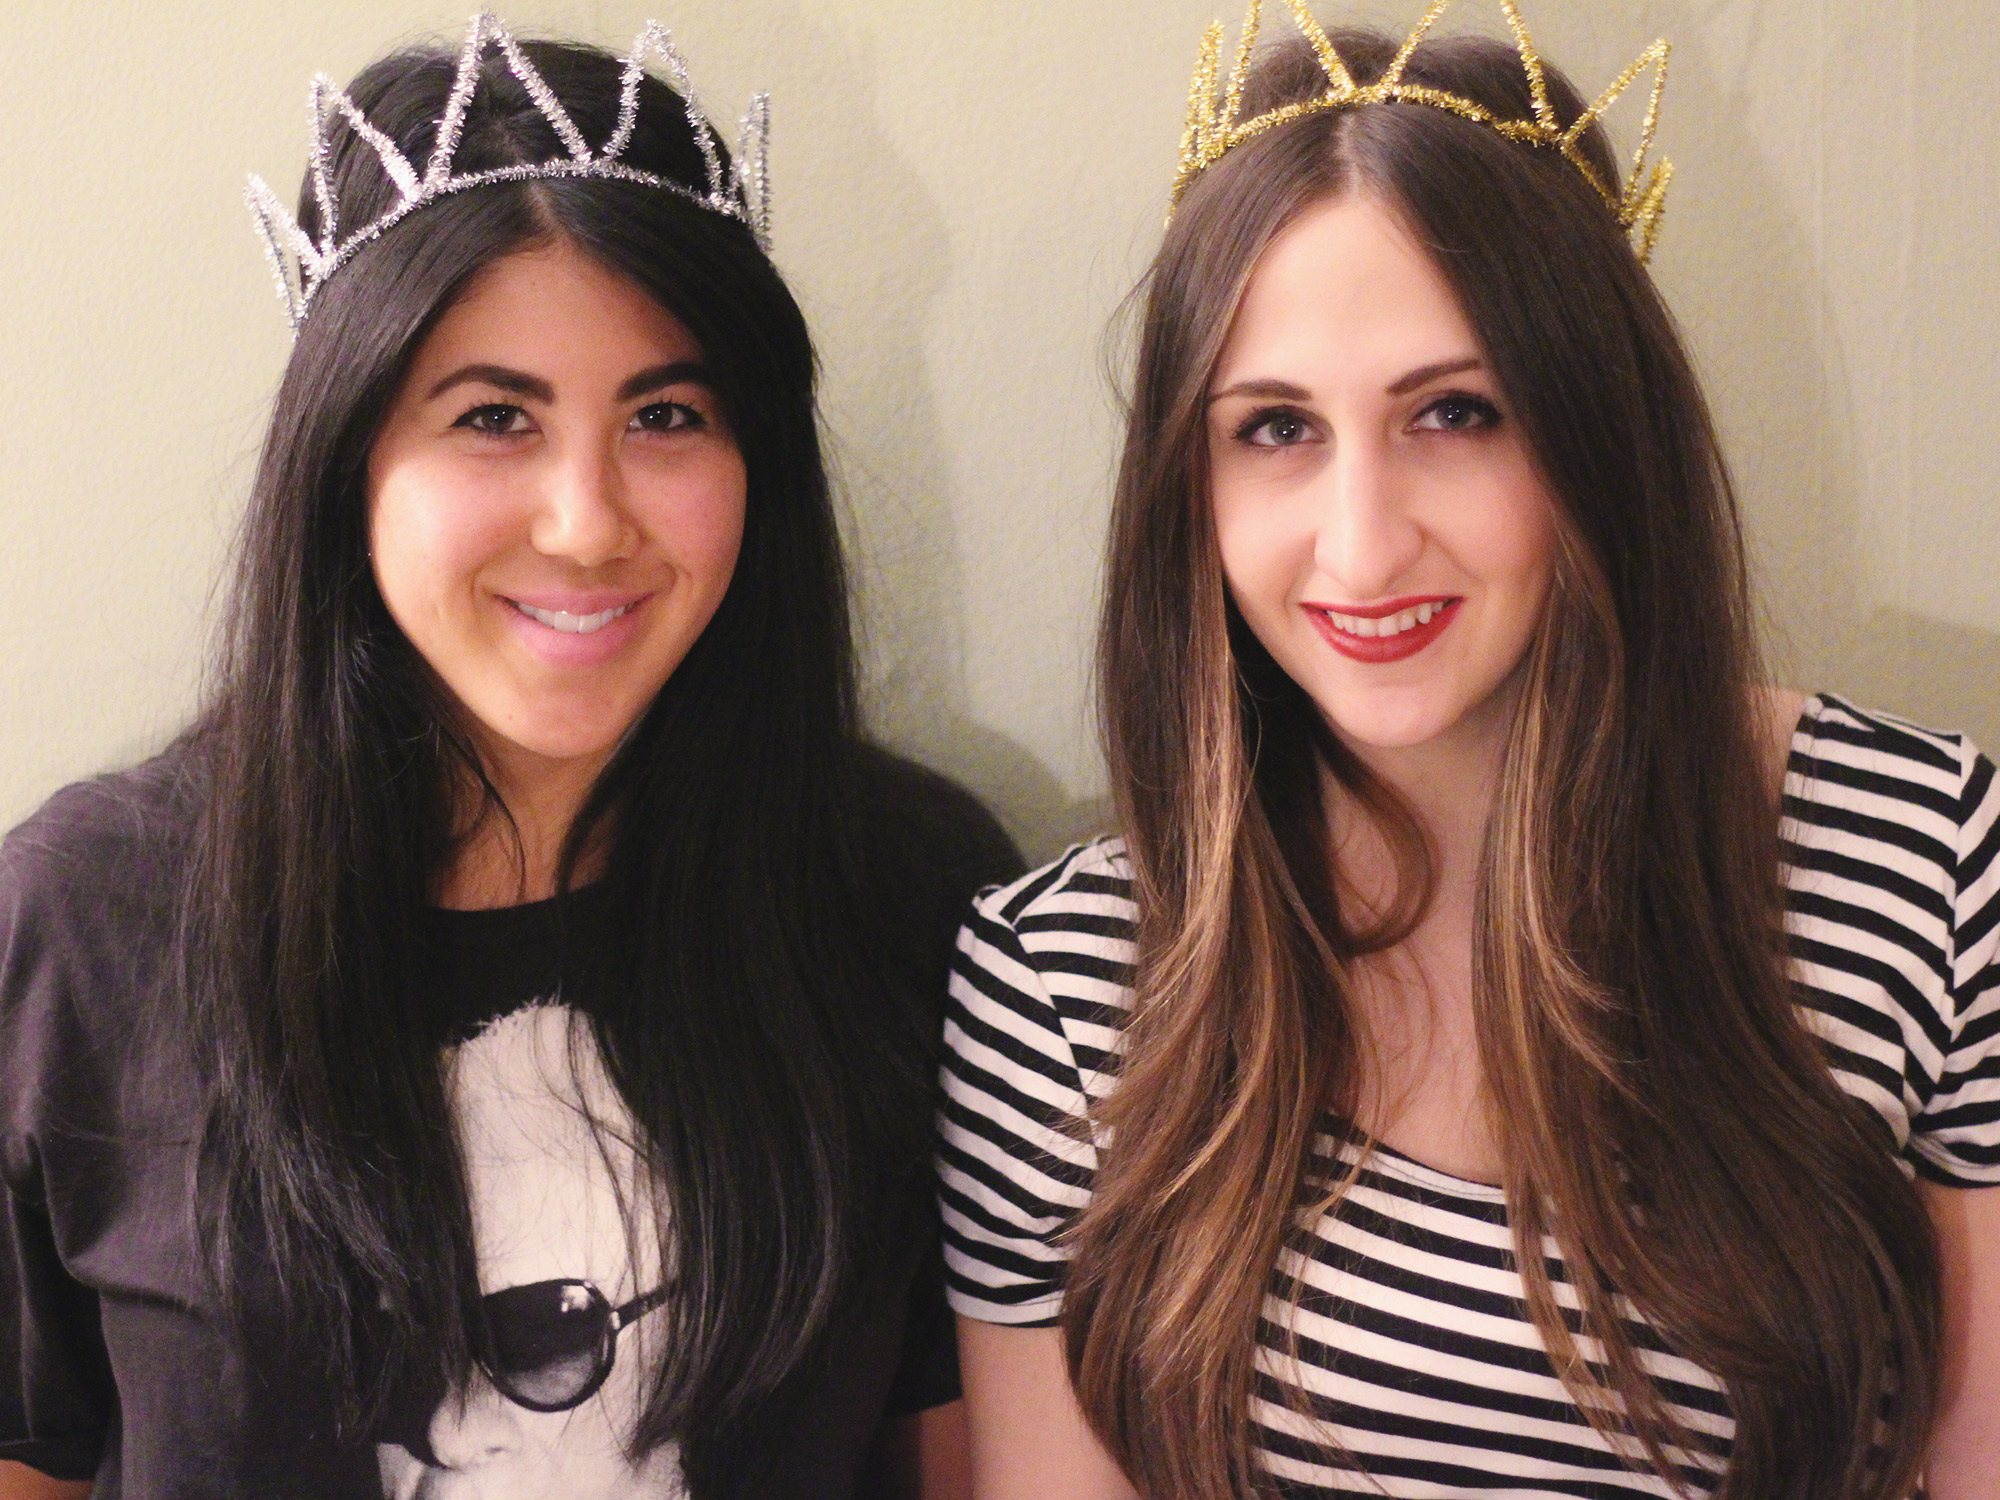
So cute hey? We made 10 in about 30 minutes while eating doritos and watching pan am. Pure bliss right thurrr.

You can also make tiaras and heart crowns. Find those directions at this sweet tutorial.


Happy Monday!

xo,

s.s.♥.

DIY // GOLD GLITTER SHOES

as you probably know, i have a slight obsession with gold. all gold everything is slowly becoming one of my mottos. i also am passionate about glitter. so let’s combine the two and add some shoes to the mix and there ya go, we have gold glitter shoes.

did you know you can pretty much gold glitter anything? and it’s incredibly easy as well! just follow the steps below…  

supplies needed: shoes, sandpaper, mod podge, glitter, paint brushes, masking tape, bowl

1. sandpaper shoe if using patent leather.

2. tape off everywhere you do not want glitter!

3. mix glitter and mod podge together in a plastic bowl until a thick glittery paste has developed.

4. start painting the shoe with the mixture.

5. keep painting..

6. just keep painting…..

7. let dry. then remove tape when absolutely dry.

8. paint the bottom of your shoe with nail polish if you prefer.

9. let dry.

10. voila! glittery shoe!

couldn’t resist sneaking this little one in…

aren’t they pretty? completely transformed shoe!

ok bed time for me…we’re getting our tree tomorrow and setting up the place…sooo excited!!!!!

stay gold as always,

s.s.♥.

GOLD PLANTER DIY

my obsession with gold is getting a little out of control. actually, i take that back. i am 100% standing behind my love for that sparkling colour. thankfully, i have an incredible husband who fully supports my desperate urge to spray paint everything in our house.

i have a wee little diy this friday morning. it did not require any crazy prep yet had spectacular results.

supplies needed: planter pot, gold spray paint, drop cloth (see, so easy!!)


so all you gotta do it spray on the pot. yep, that’s it. one tip would be to spray evenly. i got a little too excited on the sprayer and found the paint dripping a little bit. let it dry & then plant your plant. #boom

oh gold, how i love you.

happy friday!

-s.s.♥.

DIY // TERRACOTTA POTS

we have a sundeck right off our bedroom. it’s one of my favourite parts of our apartment. it’s always sunny and conveniently there are giant bushes infront of it (keeps creeper neighbours away). 

this year i decided to become a gardener plant a couple plants and not kill them. so before i could plant a plant, i’d need a cute looking pot. so lo and behold, a diy for you all!

fyi this is the easiest diy ever. 

supplies needed: terracotta pot, paint, brushes, tape

1. get a pot…i recommend scouring your grandma’s backyard (that’s where i found mine)

2. clean pot

3. use tape to protect the part where you don’t want to paint

4. paint away 

5. let dry and hurrrah, a cute little pot to plant your fave plant!

isn’t our avocado plant amazing? my friend becca grew it from a pit and then gifted it to us on nye..it’s grown so big and i haven’t managed to kill it yet (fingers crossed)


i’m planning on planting tomatoes in the other pot and then maybe i’ll attempt a little herb garden..

as a newbie gardener i’d love any tips you can offer!!

stay gold,

s.s.♥.

DIY: CAKE TOPPERS

hey future brides, pinterest people, crafters, etc.

i’m going to start showing you some DIYs from my wedding! we were able to save a BUNCH of $$ doing a heck of a lot of DIY. if you plan on doing a lot of DIY for your wedding that is AWESOME! my only advice is, don’t do it if you’re not an organized person! if you aren’t..get a wedding planner. your bridesmaids + friends will be thankful. 

anyways…so the first one i’d like to show you is…

i knew for a long time that i wanted birdies for cake toppers. i didn’t make the cake toppers until a couple days before the wedding. (i know!)  i had a lot of projects on the go that i actually forgot about them. thankfully, it was a super easy project (+ cheap!)

supplies needed: two birds (i found mine from michaels, i believe they were about $5 for both), spray paint (i used gold because it was an accent colour, mine was from walmart), tiny pearl necklace (i used an old pear headband from h&m), fabric for bow + veil, glue gun.

1. spray paint bird desired colour. most birds come multi-colour. if you want to leave them those ugly colours then do so. i picked gold because we spray painted a lot of other things gold. leave them to dry for a few hours.

2. cut out veil + bow tie + glue gun on.

3. glue on pearls

4. doneskies! 

total cost of project- less than $10 !

yep, i told you it was easy. and i think they looked pretty cute. we have them sitting above our bedroom door frame. 

how cute was our cake + cupcakes? cake was made by Rachel Cakes + cupcakes were from Jennie Cakes + they tasted PHENOMENAL! 

over n out,

s.s.♥.

photo cred: AMERIS